
Energy Conservation in the Garden
Tips for weed management, reducing physical strains, ways to make work load easier.
3/28/20255 min read
Did you ever think that energy conservation and gardening/farming could go together? Well, I’m here to tell you about it because I have creaky knees already (I know what you are thinking… “Are you really going to be 40 next week Candace? Or 140?”). In my other life outside of family and farming, I help people get rehabilitated back into the life they want for themself. Here’s some things that I have done to make the hard work easier for myself.
Preparation. It’s a little work upfront, but before I plant anything, I prepare the space with two things that save me ALOT of future weeding 1. Biodegradable weed barrier and 2. mulched pathways. I do not get paid to say this, but JohnnySeeds.com has a great product called BioFilm 360. I heard about it on Lisa Mason Ziegler’s podcast. It’s a biodegrade plastic-looking material, made from the by products of corn production. I do think it might slow the transplanting process down slightly, but in comparison to the time and energy saved from the back breaking work of dealing with weeds all summer long… worth it!
We look for free much from tree trimming services for the pathways. You have to be careful putting mulch that is fresh and not degraded on your plants, but I have found wood chips / wood mulch works great for pathways. Also, as it breaks down, it’s slowly adding organic material back into the ground. I don’t have the monetary or raw resources to add compost to everything as I wished. This is a great way to add nutrients back into the ground over time.
To take advantage of convenience, before I put down the biodegradable weed barrier, I go ahead and take in my organic fertilizer. This is much quicker than trying to add it to the individual holes you make for each transplant.
I make my holes in the weed fabric with the spacing that I desire for good air circulation, because that seems to be the number one problem with tight spacing with certain flowers. No airflow equals slimy problems. The fabric is really easy to work with all I need is my hands or screwdriver to make a small hole. After the holes are made in the desired spacing, I use my trusty garden hose on the most fast and direct setting to make good holes in the ground. You have to water your plants anyway, so why not let the water hose do the work for you of making the hole in the ground! You’re still gonna have to use your hands a little bit of course to put the transplant in the ground, but this way there’s less work, less sore fingers, no tennis elbow from the resistance of working through hard dirt. The sloppy dirt around the transplant moves easily into shape that you want to tuck your baby plant into safe and sound.
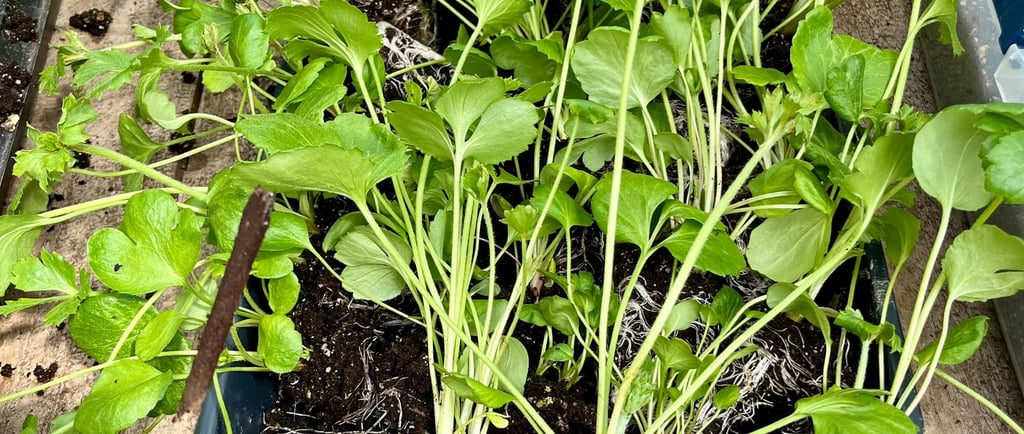
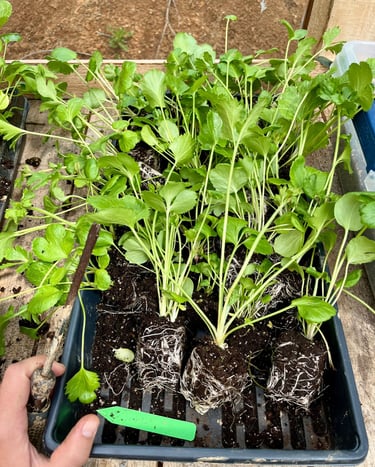
I hate crawling around on my hands and knees, moving myself and the heavy trays along the path. Here’s what I want you to try instead: take the plants out of the tray in a comfortable place, either sitting down at a table, or standing at a bar height table so there’s no bending over. Take them all out of the cells and place them in the flat bottom tray. Carry the tray to the holes you made with your water hose and plant them much swifter since there’s no digging them out one by one as you move down the row. If the row is 3 plants wide, I plant the two closest to me and just lay the far one on the other side in its place and keep moving. When the tray is empty, I go back and plant the far side in. This is much easier than reaching and stretching.
Most of my trays are 50 cells. I do 50 at a time because the walking break between each 50 transplants gives me a chance to stand up straight and stretch. The longer I bend over, the more stiff my back feels. If I take these breaks to go get another tray, I’m more mobile for longer. It’s a way to pace myself. If you need even more time between each tray to recuperate, keep your trusty water hose close by and give the new transplants a good watering in.
My last tip for you. If planting into the weed fabric doesn’t work for you, plant your transplants as evenly as you can in straight lines. I’m not telling you this so it looks good, but so you can easily get a small weeding how in between the plants. Weed every week if you can. You probably thinking, woah! What’s easy about that, that’s pretty frequent! Well if you gently run your how through the rows once a week, then the little baby weeds won’t ever get to the point of ruining your summer. It will only take a few minutes to complete this task, but save you HOURS of weeding those big angry weeds that seem to take over in July here in our climate.
I hope this has been helpful. Love to hear what you do to make the hard work manageable. Happy planting!
Transferring the transplants to a tray before taking them out to the premade holes in the ground.
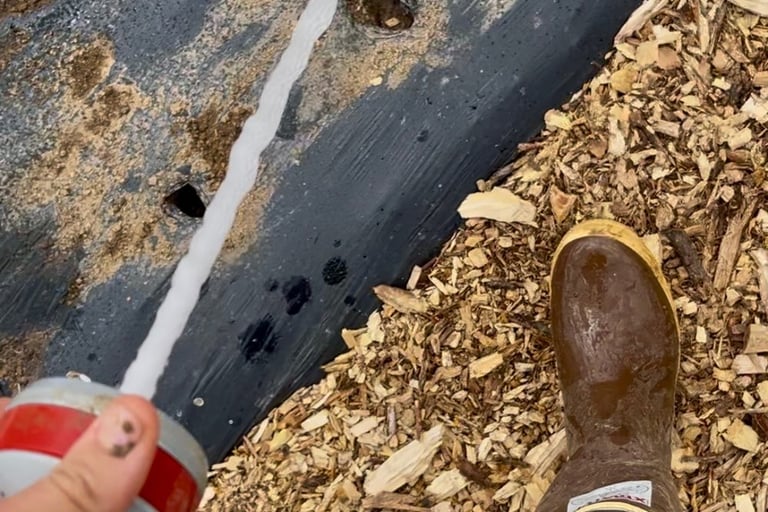
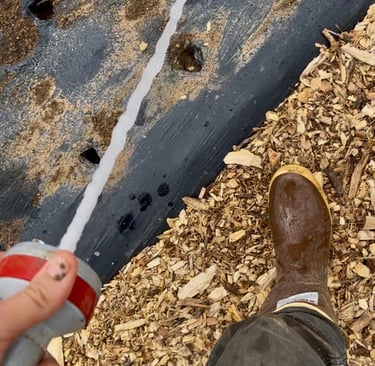
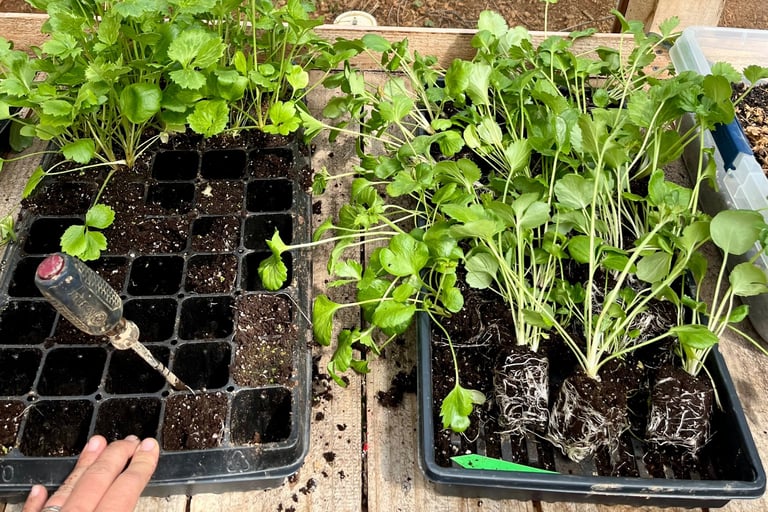
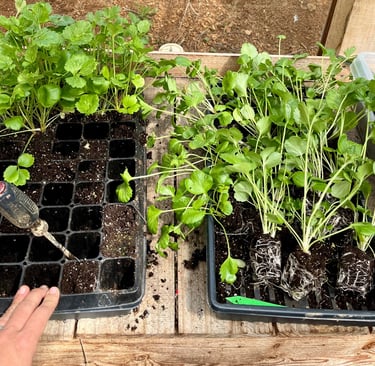
Making the holes in the ground with a water hose instead of digging .
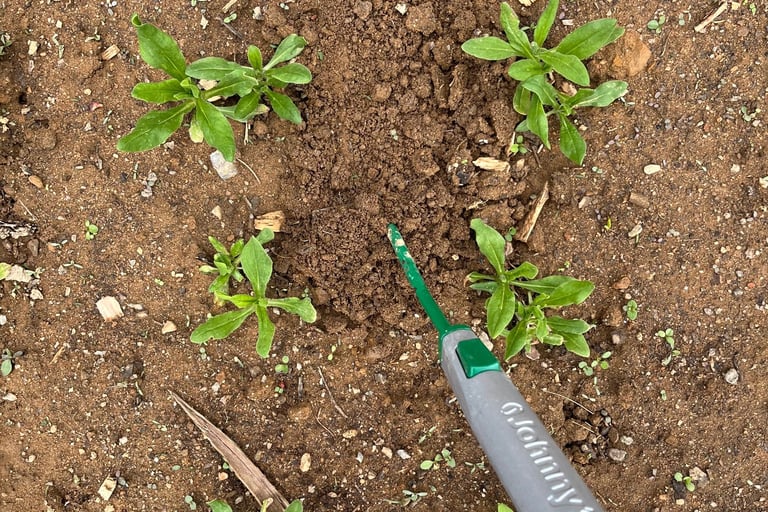

Using a colinear how to stop weeds before they start… see next picture… just takes a couple minutes to complete an entire row…

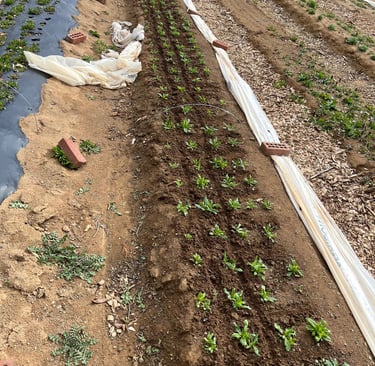
Worked the row horizontally first, pulling the hoe from the lower end to higher, since gravity is always pulling dirt off the row. Then you can see vertically l, the left side of the row has been competed and the right is undone at this point. Can you see baby weeds on the right side?
Flowers & Notions
Premium farm-grown flowers for all occasions.
east Tennessee
423-388-9701
© 2026. All rights reserved. V2.0